by indigiseo | Mar 4, 2026 | Exercises
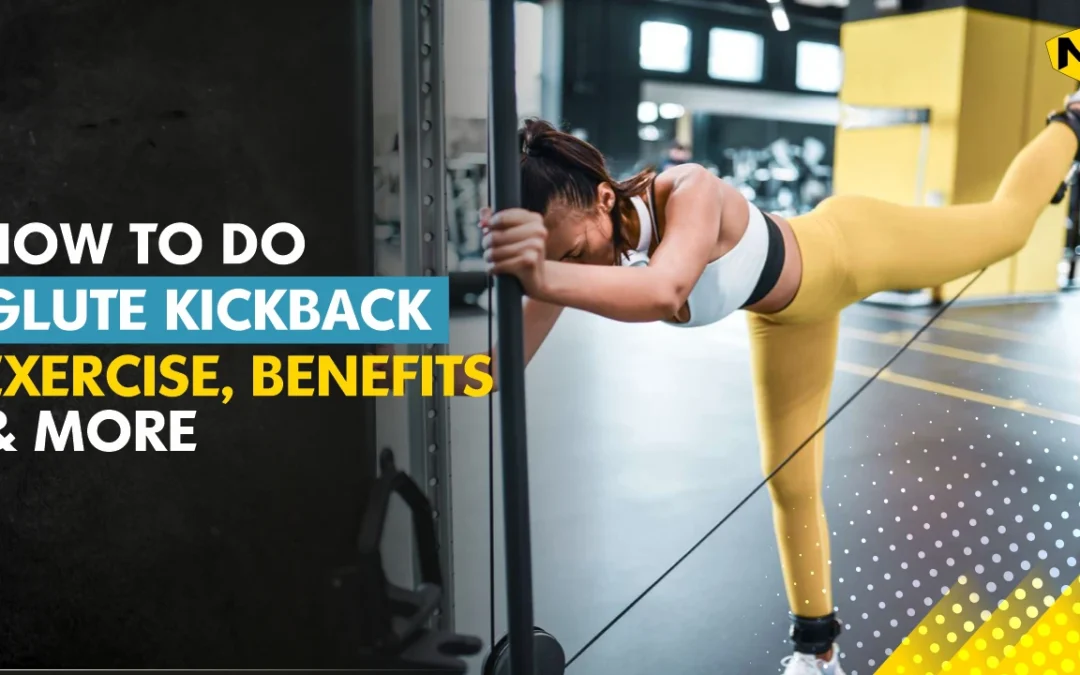
How to do Glute Kickback Exercise, Benefits & More
Are you finding trouble on what exercise to do for your glutes? Do you want to feel more confident in your body? The glute kickback exercise will become a game-changer for you.
In this article, we will look into the benefits of the glute kickback exercise, how to do the form right, and to answer questions commonly asked.
What is the Glute Kickback Exercise?
The glute kickback exercise is a strength training exercise that targets the gluteus maximus muscle. All you have to do is lift one leg backwards, keeping it straight, and then slowly lower it back down to the position you started.
You can do this exercise with or without weights, making it convenient for any individual.
How to Do Glute Kickbacks?
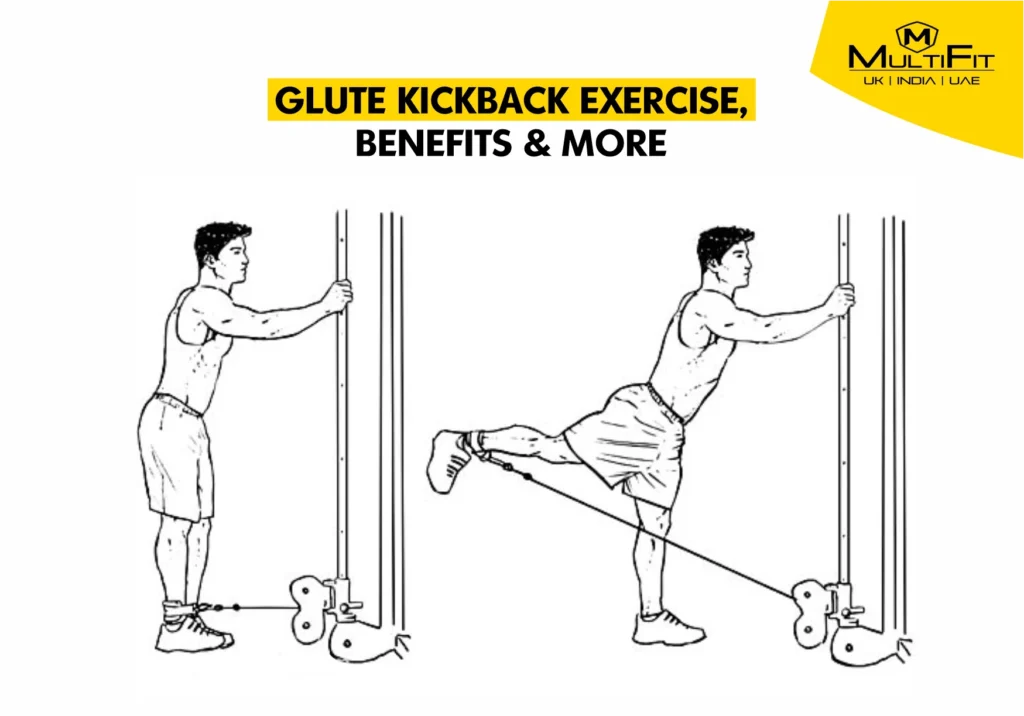
To get the most out of your exercise, here’s how you should do it:
- Start by kneeling on all fours. Make sure your hands are positioned directly under your shoulders and your knees are aligned under your hips.
- Now, lift one leg backwards, keeping it straight, and hold it there for a brief moment. Feel that stretch!
- Gently lower your leg back down to the starting position.
- Switch it up and repeat the same movement with your other leg.
- Keep alternating the legs according to the number of repetitions you want to do.
Remember, proper form is key to getting the best results and avoiding injury.
[Disclaimer: It is highly recommended to consult with a certified trainer before beginning any exercise program]
Glute Kickback Exercise Benefits
Why should you add this into your workout routine? Here are to some key glute kickback benefits:
- Stronger Glutes: This exercise strengthens and tones your glute muscles.It helps to improve posture and reduce injuring yourself.
- Improved Balance and Coordination: If you properly coordinate and balance yourself with this exercise, it will help improve your body’s stability and reduce the risk of falls.
- Low-Impact Exercise: For people who have joint pains or mobility issues, the glute kickback is a gentle yet effective way to build your strength.
- Improved Muscle Tone: If done on a regular basis, it will tone your glutes, hamstrings, and lower back.
Now there is one common question asked, are glute kickbacks effective?
Yes, the exercise is highly effective for strengthening and toning the glutes.
Do it in the proper form and that will definitely help improve your muscle tone, balance, and coordination.
Conclusion
The glute kickback is a simple exercise. It is also an effective way to strengthen and tone your glutes. You will gain stronger muscles, better balance, and low impact on joints, it’s an excellent addition to any workout routine. Remember to perform the exercise in the right form. And if you want more weights, start it light to avoid injury.
Ready to start strengthening and toning your glutes? Join MultiFit today and get access to expert trainers and a supportive community to help you achieve your fitness goals!
by indigiseo | Mar 4, 2026 | Aasan
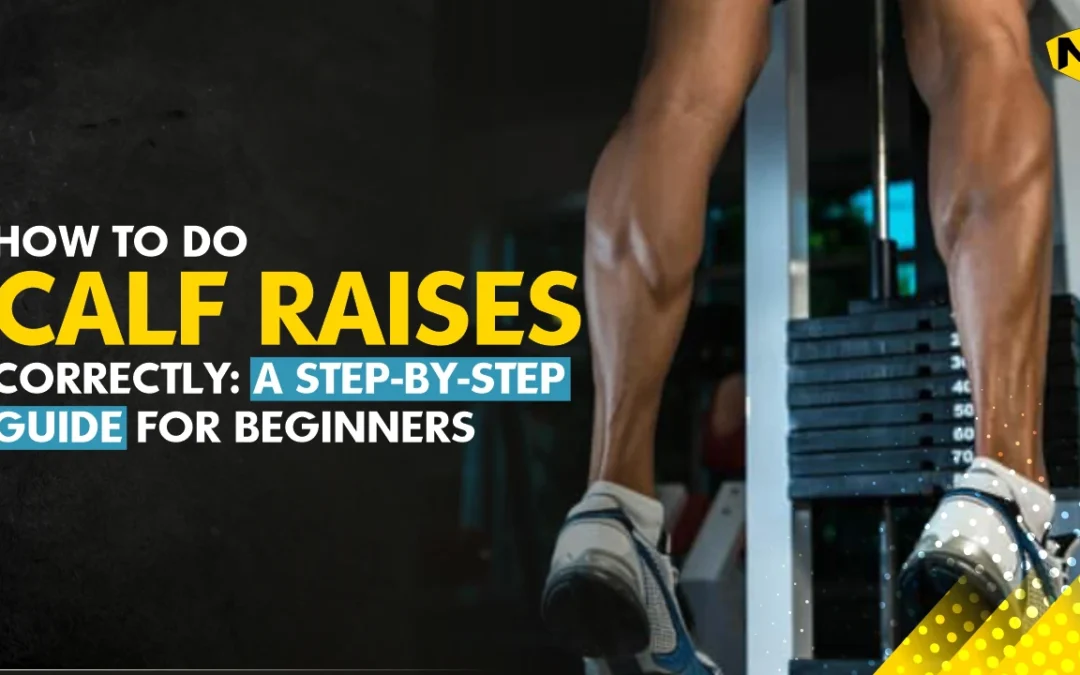
Calf raises are an important exercise of the lower body that you can do if you want to work your lower legs. Calf raises are also called standing calf raises and work by activating your calf muscles as you stand on your the tips of your toes. In this blog, we’ll find out the proper technique to do calf raises, a calf raises workout routine for them, and the benefits of doing them.
How to do Calf Raises Correctly | Calf Raise Workout Technique
There’s a correct way to do calf raises which when not done properly could lead to injuries and cramps. It’s recommended that you do two to three sets of fifteen to twenty reps two to three times a week. You can also add them as a finisher at the end of your workout.
● 2-3 Sets, 15-20 Reps
Here’s how to do calf raises with the perfect form:
1. Stand with a slight bend in your knees.
2. Keep a neutral head and neck position.
3. Keep your chin tucked.
4. While maintaining a straight back, shift your weight onto your toes and squeeze your calves.
5. Pause for a few seconds.
6. Slowly lower to the starting position, allowing your heels to contact the floor.
7. Repeat.
Calf Raises Workout Routine
There are three main variations of the classic calf raise that you can do in a calf raises workout:
1. Calf Raise Seated
The seated calf raise works on one set of muscles, the soleus muscle (The calf muscle.) This is best for people who find it hard to balance on the balls of their feet.
Here’s how to do a Seated Calf Raise:
1. Sit on a chair with your back straight, shoulders back and down, and feet flat on the ground.
2. Lift your heels off the ground while pushing down on the balls of your feet.
3. Do both heels together or one at a time.
4. Repeat
2. Dumbbell Calf Raises Standing
The dumbbell standing calf raise is basically a standing calf raise with weights. Here, you can use dumbbells, kettlebells, or even bottles of water to add weight to your raises. This can help you build strength in your calves as they work harder to lift the additional weight.
Just make sure to hold the weights properly at your side with your arms loose.
by indigiseo | Mar 4, 2026 | Aasan
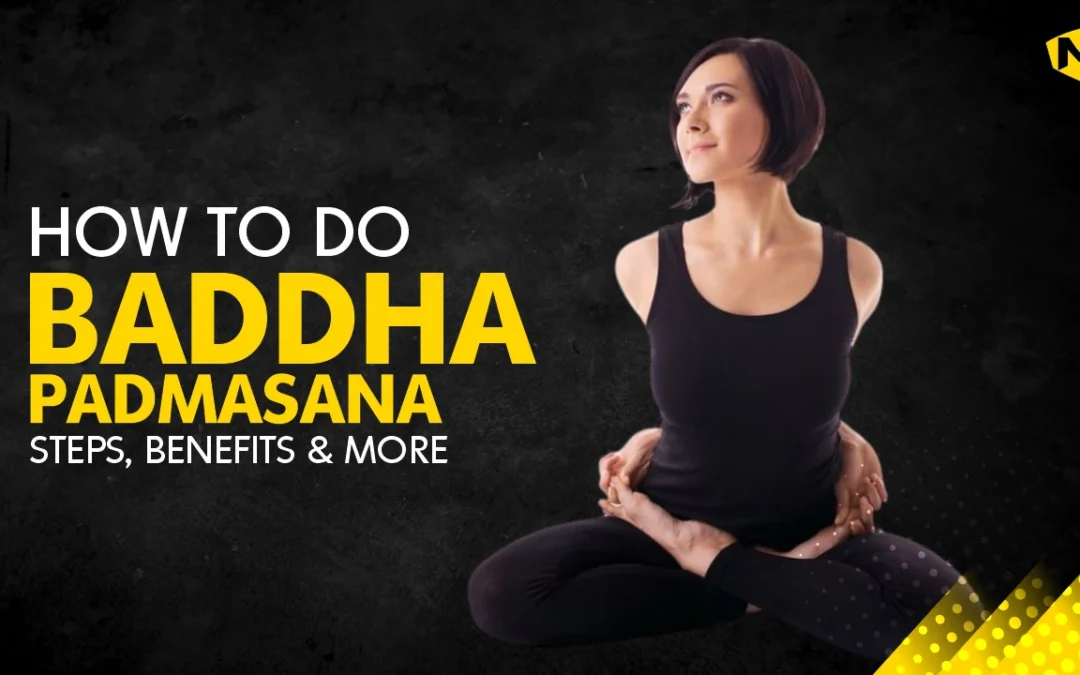
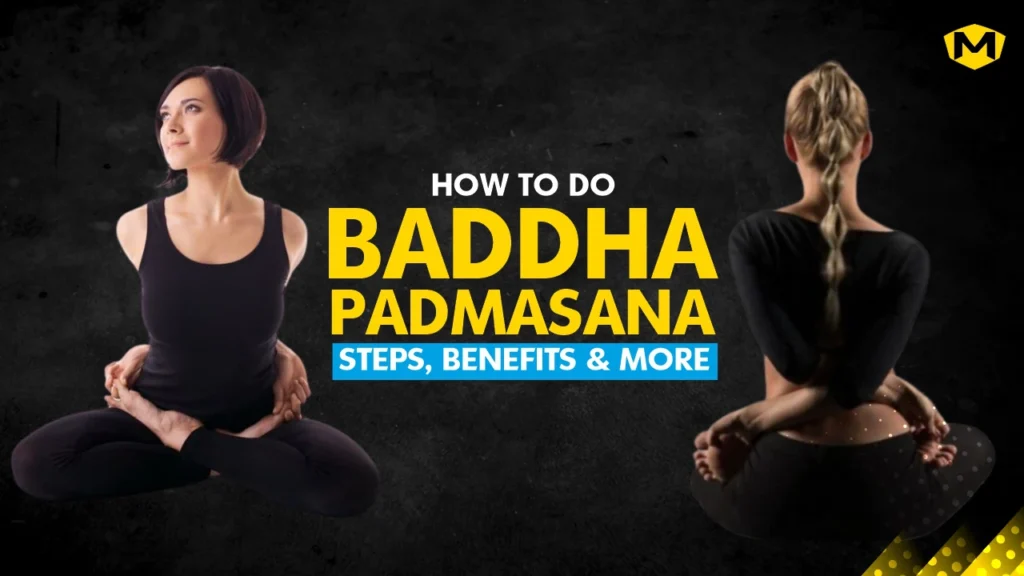
How to do Baddha Padmasana: Steps, Benefits & More
Welcome into the world of Baddha Padmasana, also known as the Bound Lotus Pose. So, what is Baddha Padmasana? The word “Baddha” means to be “bound” or “locked” in Sanskrit, and “Padmasana” refers to the Lotus Pose. So when done in the right form, it helps you to be in a deepened meditation and foster balance in the body and mind.
In this Article, let’s explore the steps to perfect this pose and discover the numerous benefits it offers, from mental clarity to physical alignment.
Baddha Padmasana Steps: A Simple Guide
At first, mastering this pose might seem challenging. With patience and practice, you’ll be able to achieve this beautiful and powerful pose.
Step 1: Find Your Foundation
Start by sitting in a comfortable position. Begin with Sukhasana, or Easy Pose, where your legs are crossed and your sit bones are grounded. Take a moment to focus on your breath, ensuring that your spine is elongated and your body feels centered.
Step 2: Bring Your Legs into Lotus
To move into the Bound Lotus Pose, slowly bring your right foot onto your left thigh with the sole facing upward. Next, place your left foot onto your right thigh in a similar manner. If this is too difficult, begin with Half Lotus, where one foot is placed on the opposite thigh and the other underneath the opposite knee.
Step 3: Clasp Your Hands
Reach your arms behind your back and clasp your hands together. You can also use a cloth/towel as support for your hands. This step may feel intense at first, so if it’s too difficult, simply rest your hands on your knees.
Step 4: Lengthen Your Spine
As you inhale, lengthen your spine, lifting through the crown of your head. Keep your chest open and shoulders relaxed, allowing your neck to remain long and free from tension.
Step 5: Hold and Breathe
Hold the pose for 3-5 deep breaths. As you inhale, feel the energy rise through your spine, and with each exhale, sink deeper into the pose. Focus on maintaining a steady, smooth breath throughout your practice.
Step 6: Release with Care
To exit the pose, gently release your hands and slowly unwind your legs from the lotus position. Take a moment to stretch your legs and notice how your body feels after holding Baddha Padmasana.
(Disclaimer: It is highly recommended to consult with a certified trainer before beginning any exercise program)
Baddha Padmasana Benefits: Why You Should Practice It
Practicing regularly offers a variety of physical and mental benefits that contribute to overall well-being.
Improves Flexibility:
The posture stretches the hips, groin, and knees, that help in flexibility to the lower body. If you have arthritis in any joint of the body, this asana can help you to get relief from pain. However, if your pain worsens while doing this, you should consult a doctor.
Promotes Spinal Alignment:
Baddha Padmasana helps in building an upright posture. It helps to align the spine and improve posture over time.
Enhances Mental Clarity:
This seated posture creates a sense of stability and grounding. It also helps to give a mental clarity and focus, especially when used as a preparatory pose for meditation.
Opens the Chest:
The hand clasping behind the back stretches the chest and opens the heart. This encourages deeper breathing and better lung capacity.
Reduces Stress and Anxiety:
Baddha Padmasana calms the nervous system. So it helps alleviate stress and anxiety. This would make it an excellent practice for mental relaxation.
Improves Concentration:
This pose creates mindfulness, helping them to have a deeper connection to the present moment. This improves your concentration levels over time.
Baddha Padmasana Steps and Benefits Combined
When you combine the steps with its benefits, you unlock a practice that brings both physical and mental transformation. As you follow through these steps, you begin to experience a deeper sense of calm and focus.
Whether you’re using the pose to prepare for meditation or simply as a way to center yourself during your yoga session, the benefits of Baddha Padmasana is to be known
In Conclusion: Mastering Baddha Padmasana
By adding Baddha Padmasana into your yoga practice, it definitely helps you in your growth. With regular practice, this asana can help achieve a greater sense of peace, focus, and alignment. You will also develop the strength and clarity needed to deepen your yoga journey.
So, if you’re wondering what Baddha Padmasana is, how to do it, or the benefits it can bring, remember that every step you take on this path brings you closer to a more balanced and harmonious practice.
Ready to enhance your yoga journey? Join MultiFit today and experience expert-guided sessions that incorporate poses like Baddha Padmasana to help you achieve your fitness and wellness goals. Sign up now and take the first step towards a healthier, more balanced life.
by indigiseo | Mar 4, 2026 | Health
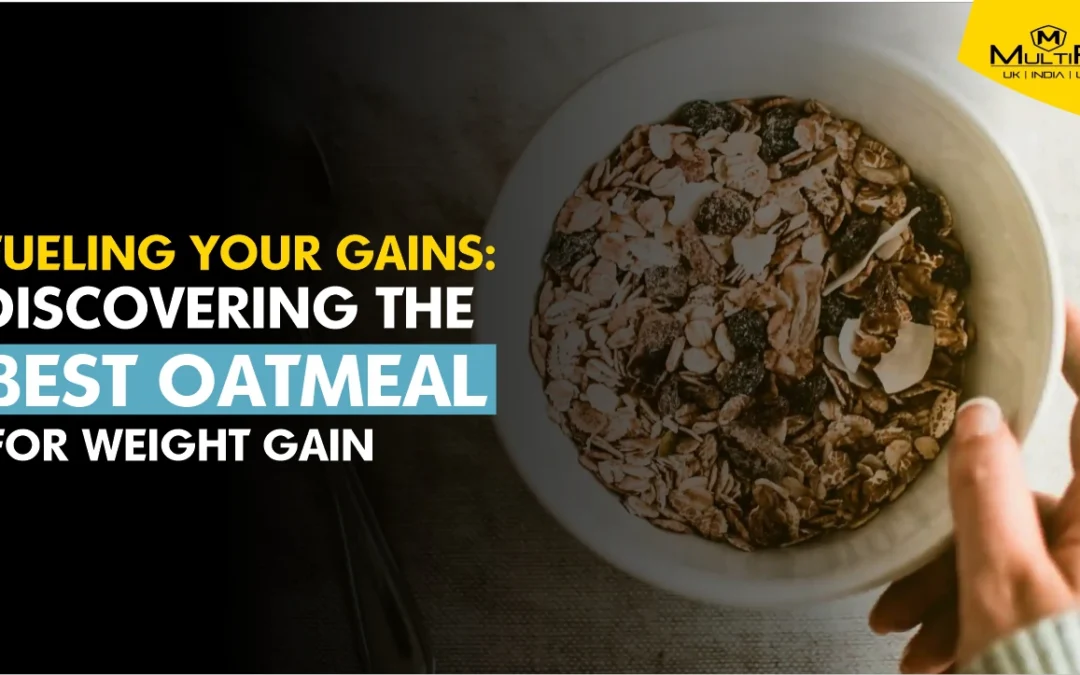
Fueling Your Gains: Discovering the Best Oatmeal for Weight Gain
Let’s say that you start each day with a huge bowl of oats as you work towards healthy weight gain.
For many people, healthy weight gain is a hard thing to do even if they could eat any foods they wanted.
Choosing the best type of oatmeal is very simple and will help you put on some pounds. In this blog we will look at what is the best oatmeal for weight gain, and how one basic grain can help you on a healthier path to a fuller body.
Understanding Oatmeal and Its Role in Weight Gain
Oats from which we obtain oatmeal offer versatility and nutrition because they adapt well to promote weight gain.
This food contains complex carbohydrates alongside fiber and essential nutrients which allows it to be the best choice to increase healthy caloric consumption.
Types of Oats and Their Benefits
Rolled Oats:
The quick-cooking breakfast food consists of steamed flattened oats which results in a fast cooking process. The food value remains high in these ingredients alongside their value for an extensive range of recipes.
Steel-Cut Oats:
Whole oat groats that receive chopping treatment create this oat product also known as Irish oats. These oats have a firm texture and need prolonged cooking time to deliver continuous energy over long periods.
Instant Oats:
The oatmeal receives precooking preparation before drying for rapid cooking convenience. Unsweetened varieties present the best option because added sugars should be avoided.
Oat Flour:
This product provides ground oats that bakers can use for dishes while also thickening smoothies and soups allowing people to consume oat nutrition while avoiding whole oat portions.
Enhancing Oatmeal for Weight Gain
To maximize the calorie content of your oatmeal:
- Use Whole Milk: Cooking oats in whole milk instead of water increases calorie and fat content.
- Add Healthy Fats: Incorporate nut butters, nuts, seeds, or coconut oil for added calories and nutrients.
- Include Protein: Mix in Greek yogurt, protein powder, or an egg to boost protein intake.
- Sweeten Naturally: Use honey, maple syrup, mashed bananas, or dried fruits for sweetness and extra calories.
- Top with Extras: Add shredded coconut, dark chocolate, granola, or more nut butter for additional calories and flavor.
Best Oats for Weight Gain in India
Based on nutritional content and availability, here are some top choices:
- Nutriorg Organic Rolled Oats: Provides 12g protein and 350 calories per 100g, rich in antioxidants.
- MuscleBlaze Oats: Offers 22g protein, suitable for muscle gain.
- Disano Oats: Contains 11g protein and 14g fiber, aiding digestion.
- True Elements Oats: Provides 11g protein and 7g fiber, made from whole grains.
Sample High-Calorie Oatmeal Recipe
Ingredients:
- 1 cup rolled oats
- 2 cups whole milk
- 1 tablespoon peanut butter
- 1 tablespoon honey
- ½ banana, sliced
- A handful of chopped nuts (almonds, walnuts)
Instructions:
Cook oats in whole milk over medium heat until creamy.
Stir in peanut butter and honey.
Top with banana slices and chopped nuts.
This combination provides a balanced mix of carbohydrates, protein, and healthy fats, aiding in weight gain.
Conclusion:
A nutritional approach to weight gain can be achieved through dieting with oatmeal.
Your weight gain efforts can benefit from the proper selection of oats in combination with calorie-dense additives that help produce satisfying meals.
A consistent diet with balanced nutrition remains essential to reach after maintaining your preferred weight.
FAQ’s
Can oatmeal alone help me gain weight?
Eating oatmeal which includes whole milk combined with nuts and additional sweetness will lead to increased body weight. Oats need to be included within a multivitamin diet consisting of different nutrient-packed foods.
How often should I eat oatmeal to gain weight?
Oatmeal consumption twice a day at breakfast time or directly after workouts becomes effective for weight gain if people combine it with other weight-gaining meals.
Are flavored instant oats good for weight gain?
Instant oat products that come with flavoring typically include artificial additives together with added sugars. People should select plain oats and include their own natural sweeteners with toppings to establish better control of nutrient and calorie content.
What are some other high-calorie toppings for oatmeal?
You can enhance calorie content by adding dried fruits together with seeds and using full-fat dairy products.
by indigiseo | Mar 4, 2026 | Exercises
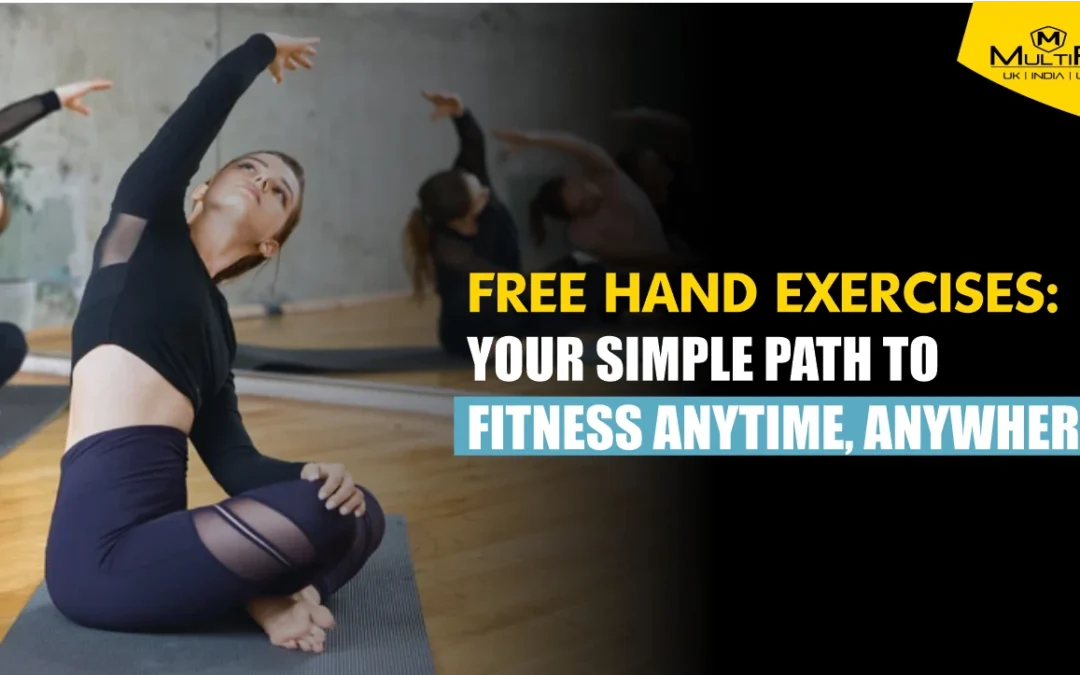
Free Hand Exercises: Your Simple Path to Fitness Anytime, Anywhere
After dealing with a busy workday stuck in the commute or resting at home without gym motivation you find yourself facing an overwhelming situation.
All you need for a complete body workout and a space, like your living room without requiring any equipment. Free hand exercises bring aesthetic value to their effectiveness which appeals to trainees.
These workouts remain available to everyone while working effectively irrespective of daily deadlines. The following section explains how these exercises will change your fitness path.
What Are Free Hand Exercises?
Any workout that requires no additional equipment counts as a free hand exercise.
The exercises obtain resistance solely through the weight of your body.
Any setting works for these exercises because they require no equipment and welcome people from all fitness abilities.
All fitness abilities can leverage multiple advantages when they add free hand exercises to their workout program whether they practice regularly or rarely engage in fitness activities.
Benefits of Free Hand Exercises
Free hand exercises deliver multiple advantages which include:
- Free hand exercises activate several muscle groups which leads to better strength development as well as endurance gains.
- The practice of regular hand movements leads to improved joint movements to reduce possible injuries.
- Jumping jacks and burpees create cardiovascular benefits because they increase your heart rate to improve this bodily system.
- Weight management becomes achievable through exercise because exercise burns calories while helping people lose weight and prevent weight gain.
- The physical activity activates endorphins that create stress reduction and produce better moods.
- Exercise provides convenience because individuals do not require gym memberships or equipment for working out at any time and location.
Best Free Hand Exercises to Incorporate
Here are some of the best free hand exercises to include in your routine:
- Push-Ups: Strengthen your chest, shoulders, and triceps.
- Squats: Target your thighs, hips, and buttocks.
- Lunges: Enhance leg and core strength.
- Planks: Improve core stability and posture.
- Jumping Jacks: Boost cardiovascular endurance.
- Mountain Climbers: Engage multiple muscle groups and increase heart rate.
- Leg Raises: Strengthen abdominal muscles.
- Arm Circles: Improve shoulder flexibility and tone arms.
How to Do Free Hand Exercises
Starting with free hand exercises is straightforward:
- Warm-Up: Begin with light cardio, like marching in place, to prepare your body.
- Choose Exercises: Select a mix of upper body, lower body, and core exercises.
- Set Repetitions: Aim for 2-3 sets of 10-15 repetitions for each exercise.
- Cool Down: Finish with stretching to aid recovery.
Consistency is key. Even dedicating 15-20 minutes a day can lead to noticeable improvements.
Free Hand Exercises vs. Gym Workouts
A common question is: Is free hand exercises better than gym workouts? The answer depends on your goals.
- Accessibility: Free hand exercises require no equipment, making them more accessible.
- Cost-Effective: They eliminate the need for gym memberships.
- Functional Strength: These exercises often mimic real-life movements, improving daily functional strength.
However, gym workouts offer access to specialized equipment and can be beneficial for targeted muscle building. Combining both can provide a balanced fitness regimen.
Conclusion
Daily practice of free hand exercises brings important health benefits to people who lack gym memberships or use equipment. The series of exercises provides an effective practice for building strength along with flexibility improvement and general wellness gains.
Begin right now with a single change that will lead you towards improved health.
FAQ’s
What are free hand exercises?
Weight-based exercises make up workouts which rely on using body mass for creating resistance during routine activities.
What are the benefits of free hand exercises?
People who do resistance training exercises gain better strength along with body flexibility and cardiovascular system health as well as successful weight control together with mental wellness benefits.
How to do free hand exercises?
The workout procedure consists of warming up then selecting variable exercises for multiple muscle groups followed by 2-3 sets of 10 to 15 repetitions and ending with cooling down.
Is free hand exercises better than gym workouts?
It depends on individual goals. Exercises done by hand tend to be cheaper and more convenient but working out at the gym provides better machines for specific exercises.
Can beginners do free hand exercises?
Absolutely. Different exercises accommodate people of all fitness abilities.